Launchpad/UG/09 Sequencer/02 Steps View
9.2 Steps View
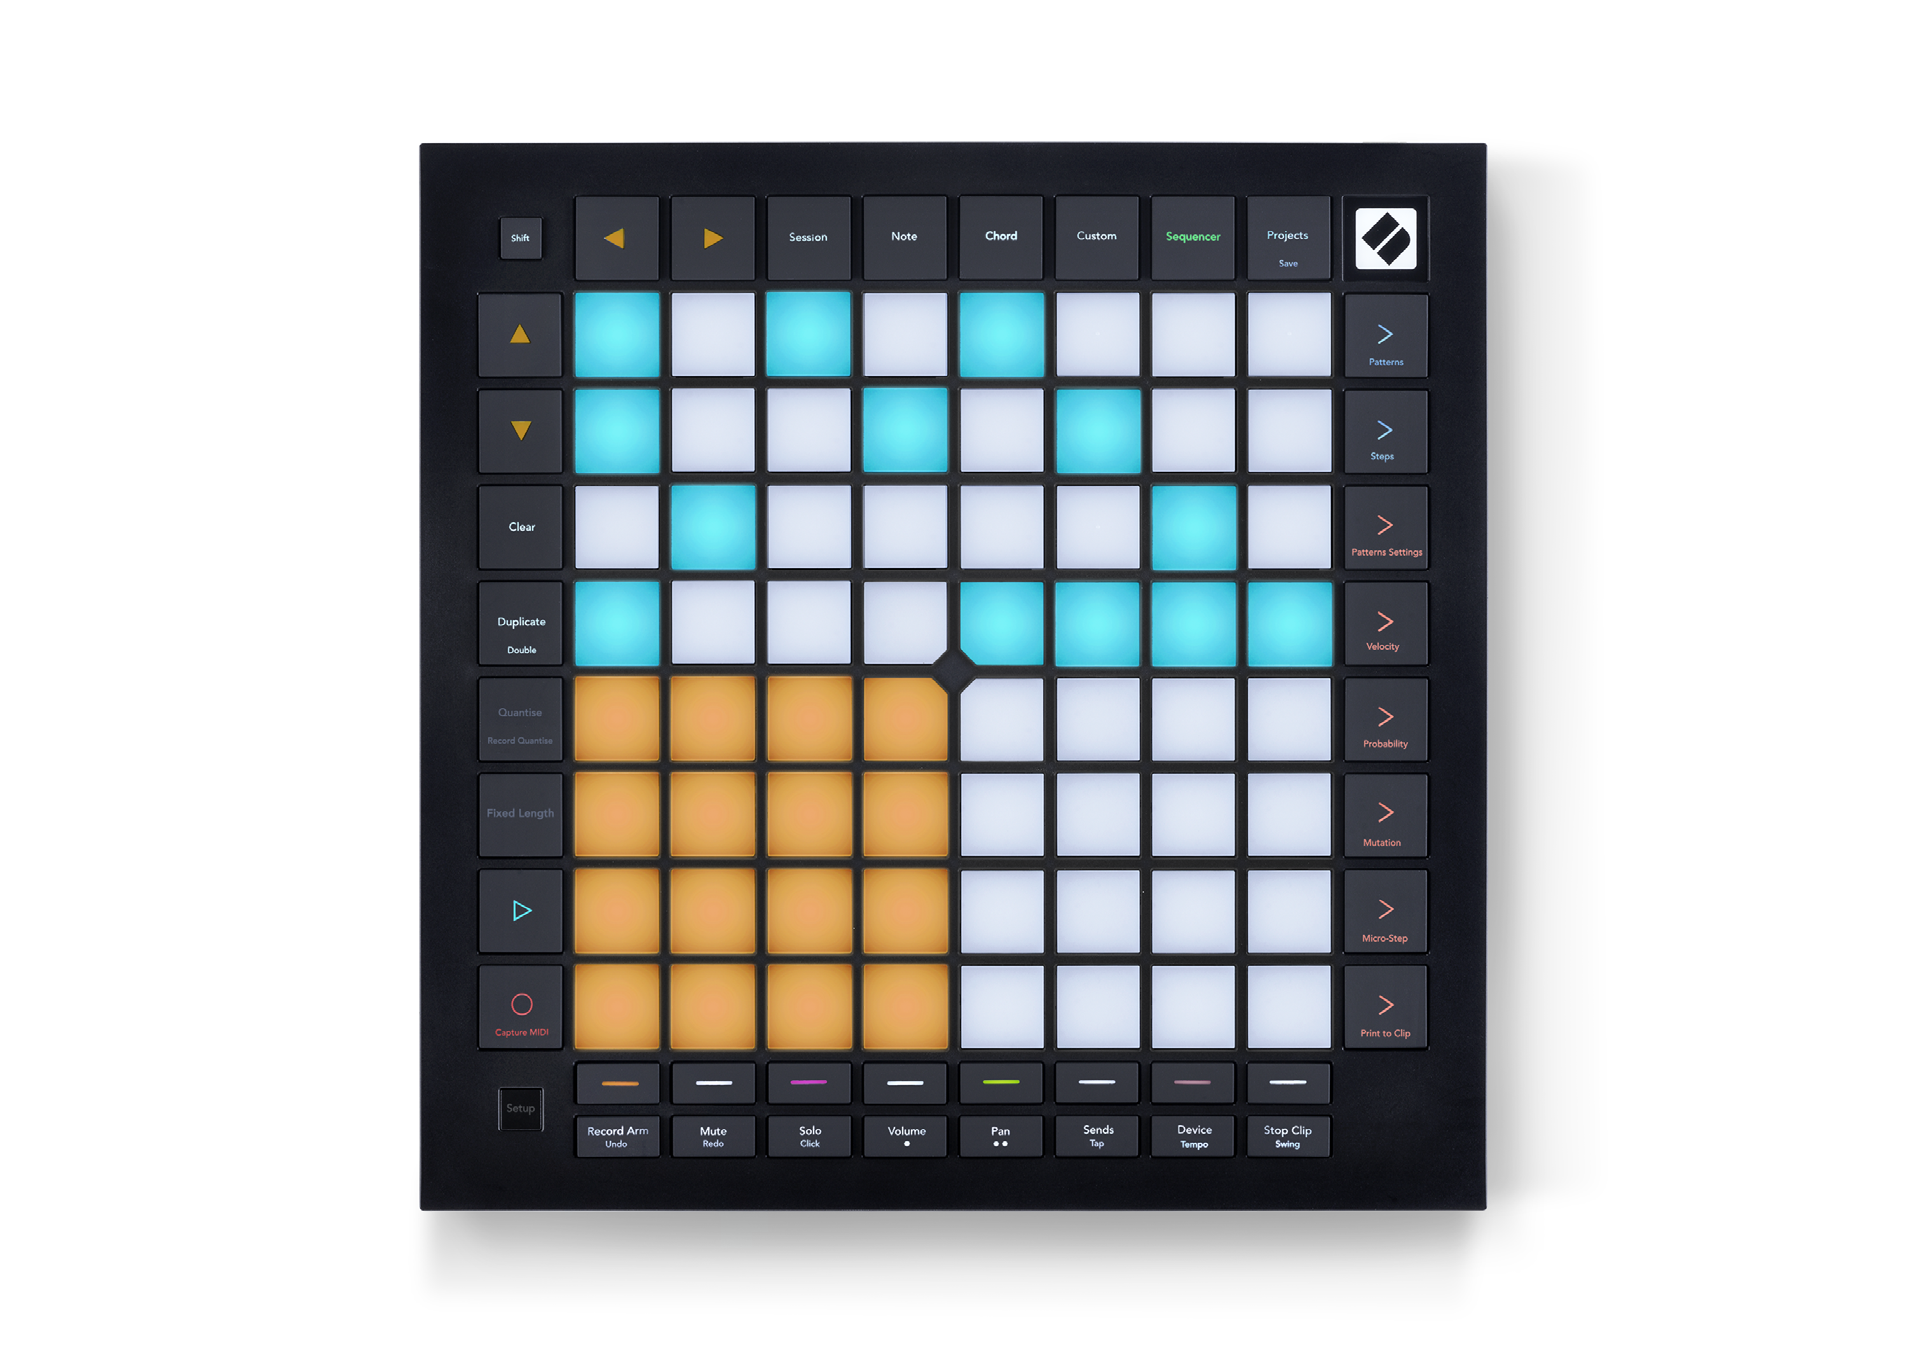
- The top half of the grid shows a pattern’s 32 steps. Press Play to start the white playhead at the beginning; press Play again to stop it.
- The bottom half is the Play Area, where pads play notes.
- Steps View layout
9.2.1 Using the Play Area
- On Chromatic and Scale tracks, Up and Down shift the Play Area by an octave.
- On Drum tracks, Up and Down shift by 16 notes (one 4 × 4 grid). Left and Right move the Drum layout by one row of four notes.
9.2.2 Assigning to steps
- Hold a note in the Play Area and press a step, or hold a step and press notes in the Play Area. Each step can hold up to eight notes.
- Hold a step to preview it. Assigned notes light red in the Play Area.
- Hold a Play Area note briefly to see its assigned steps light red. If you hold a chord, only steps containing every held note light red.
9.2.3 Clearing steps
- Hold Clear and press a step to remove all its notes.
- To remove one note, hold its step and press the assigned red note in the Play Area.
9.2.4 Duplicating steps
- Hold Duplicate and press the source step, then press a destination step while still holding Duplicate. Keep holding Duplicate to paste to more steps.
9.2.5 Playback
- Press Play to begin at the start of the patterns.
- To resume a stopped sequence at its stopped position, hold Shift and press Play. Play lights gold while Shift is held.
9.2.6 Recording into the sequencer
- Press Record [O] to enable live recording; the button lights red. While the sequencer plays, notes from the Play Area are recorded.
- Incoming MIDI from USB or the TRS MIDI In port is recorded too.
9.2.7 Setting gate length
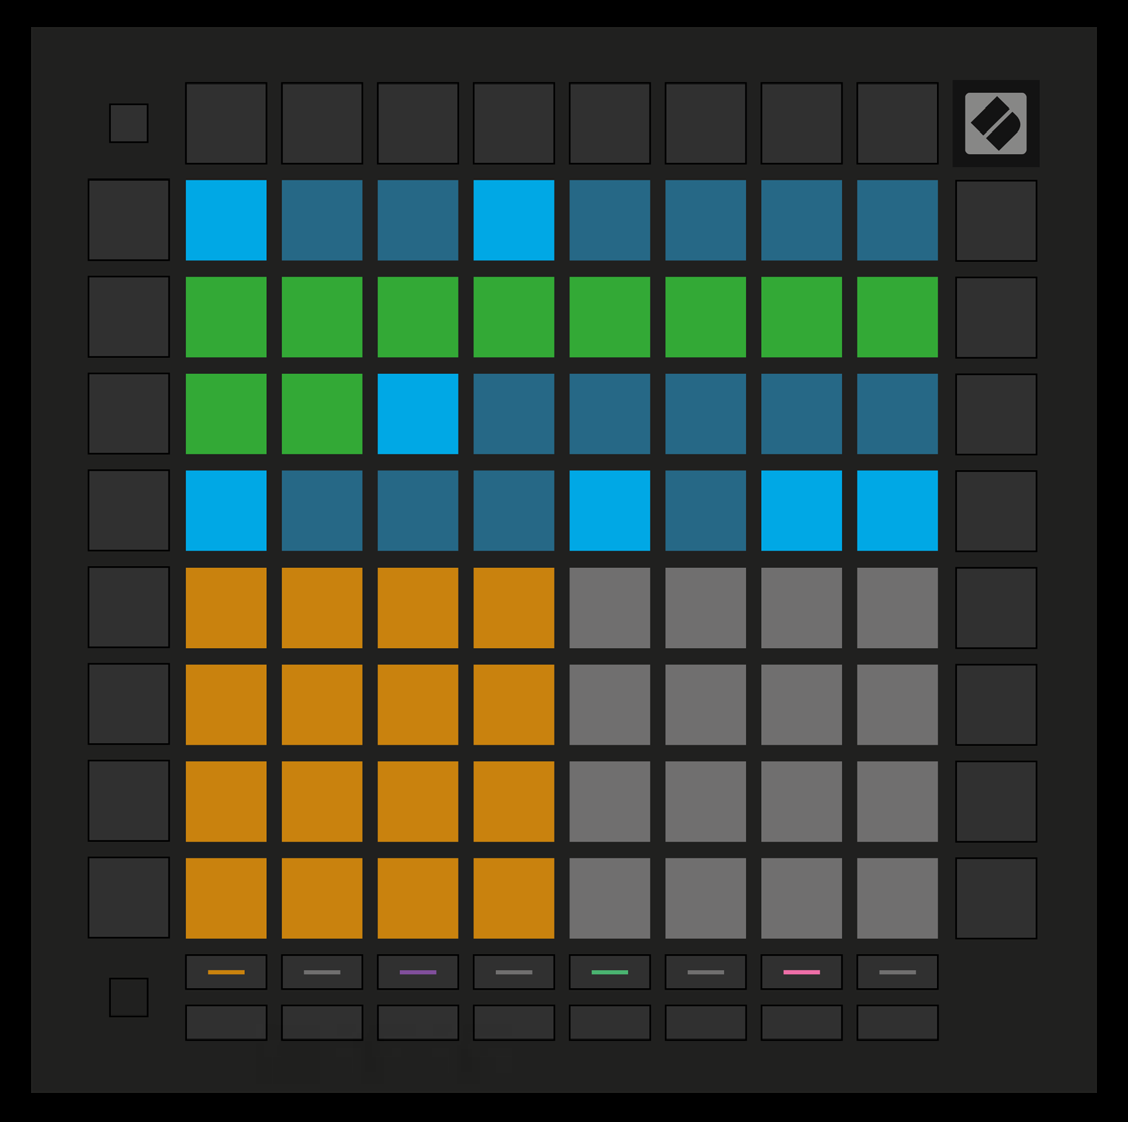
- Press and briefly hold a step until it pulses green. Keep holding it and press a later step to set how many steps the notes last. The intervening steps pulse green.
- To reset the gate to one step, press the pad that would set a two-step gate twice. The second press returns the gate to one step.
- Ten-step gate length
9.2.8 Using multiple sequencer tracks
- The four sequencer tracks play simultaneously. Select a track with its lit track-select button; each track’s button and Play Area use the same color.
- Track colors, as drawn in the Launchpad/UG/09 Sequencer/03 Patterns View diagram: Track 1 orange, Track 2 violet, Track 3 green, Track 4 salmon.
9.2.9 Using the Sequencer with Ableton Live
- Ableton Live MIDI tracks accept input from any channel by default. If several sequencer tracks play while multiple Live tracks are armed, the notes can reach every armed track. Assign a separate input channel to each Live track.
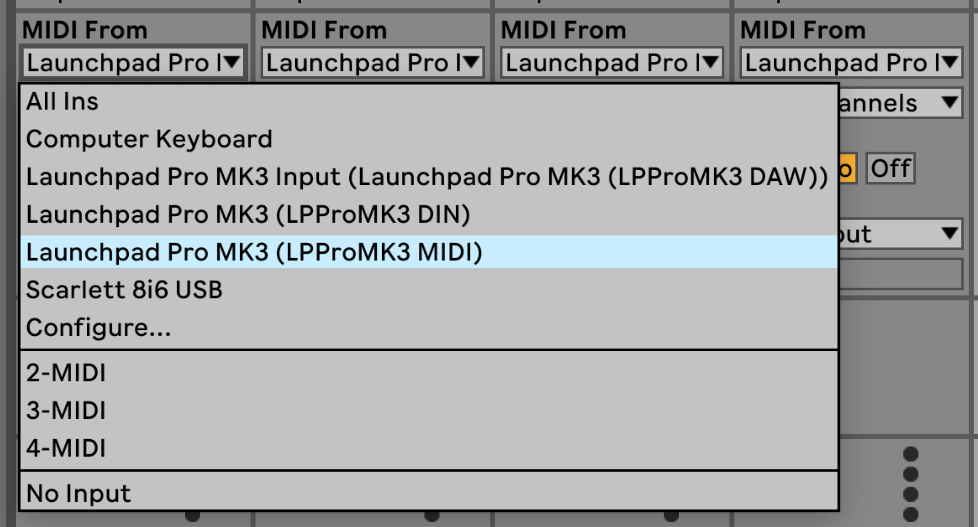
- In Live, choose “Launchpad Pro MK3 (LPProMK3 MIDI)” as MIDI From on Mac, or “LPProMK3 MIDI (MIDI 1)” on Windows.
- Ableton Live MIDI input port
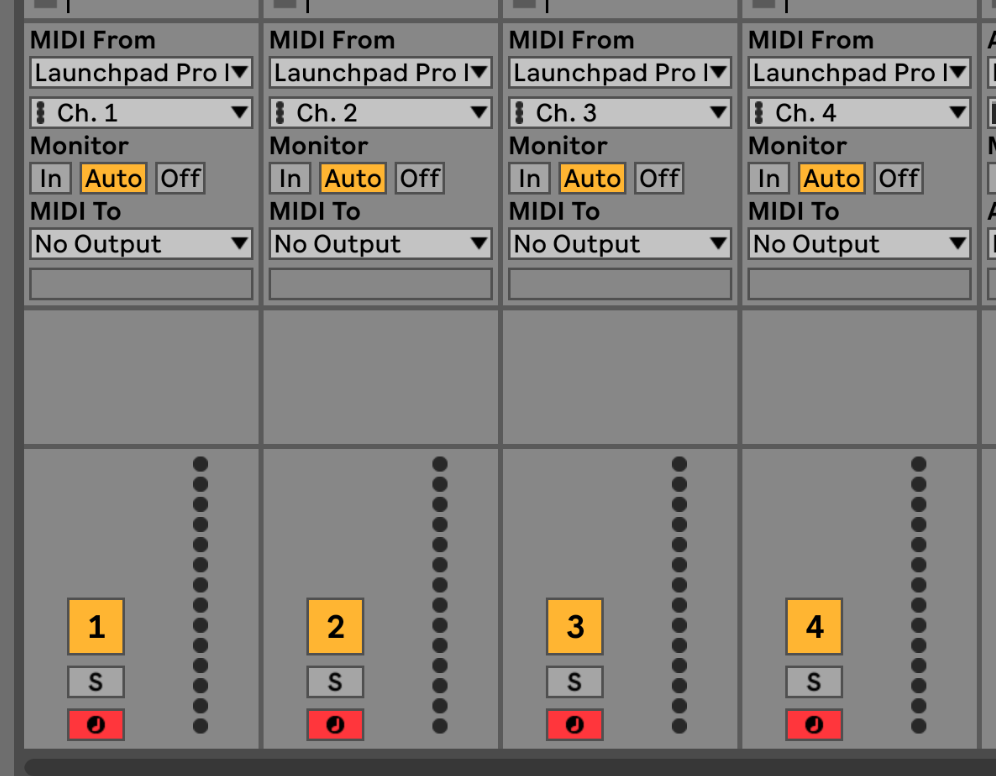
- Set each Live track to the channel of its Launchpad sequencer track. By default, Launchpad tracks 1–4 send on MIDI channels 1–4. Sequencer Settings can change those channels.
- Ableton Live track MIDI channels
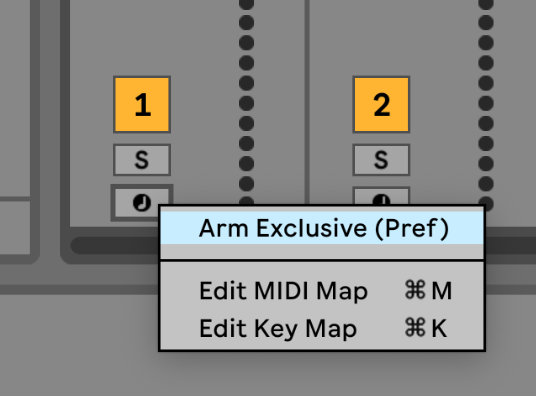
- Set Monitor to Auto and arm the Live tracks. To arm several at once, hold Command on Mac or Control on Windows while clicking each record-arm button. You can instead disable “Arm Exclusive” from a record-arm button’s context menu.
- Ableton Live Arm Exclusive setting