Ableton/Live/UG/34 MIDI and Key Remote/01 MIDI Remote Control/01 Natively Supported Control Surfaces
- Choose control surfaces in the Control Surface column of the Link, Tempo & MIDI tab. Live can use up to six at once.

- If the controller is listed in the first Control Surface chooser, pick it by name and set its MIDI input and output ports in the next two columns. If it is not listed, set it up by hand instead — see Ableton/Live/UG/34 MIDI and Key Remote/01 MIDI Remote Control/02 Manual Control Surface Setup.
- Some controllers need a preset dump. The Dump button next to the choosers becomes active when one is needed. Put the hardware in a state to receive the dump (the hardware's own documentation says how), then press Dump.
- An instant mapping is Live's built-in assignment of its functions to a supported controller's knobs, sliders and buttons. The controls follow the selected device, reassigning themselves to whatever device is in focus.
- Manual assignments override instant mappings. For that, also turn on the Remote switches for the controller's ports in the MIDI Ports section.
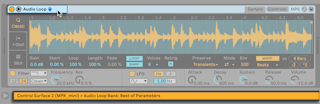
- A supported controller can be locked to one device so it stays in reach wherever the focus moves: right-click the device title bar and pick the controller under Lock to…. A hand icon in the title bar marks a locked device.
- By default, arming a MIDI track locks its instrument to the control surface.
- Some control surfaces cannot lock to devices.